Configuring and Building DREAM.3D on Windows
Next, download the source code repositories by following the instructions on the SourceDownload page.
Setup
DREAM.3D is built using Visual Studio 2017, either the Free community edition or the Pro paid version. Both versions will give the exact same results. DREAM.3D is compiled as a 64 Bit application.
Using CMake-Gui.exe the developer can configure a build directory for DREAM.3D
Launch CMake-Gui.exe and select the DREAM3D source directory as in figure 1:

Next set the Binary Directory as in figure 2.

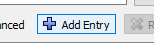
Next add an entry for the location to the DREAM3D_SDK directory (Figure 4) by clicking the "Add Entry" button (Figure 3.)

At this point the CMake-Gui application should look something like the following (Figure 5)

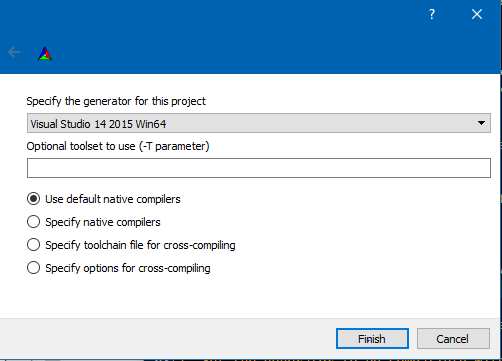
Now click the "Confiugre" button. CMake will ask you which generator to use. Please select the version of Visual Studio that you have installed (VS 15 2017 is the current as of FEB 2019). Also not that you want the generator that ends with Win64
After selecting the generator CMake will inspect your system for compilers and then locate all of the dependent libraries. After that is complete and assuming no CMake errors the state of the CMake-Gui should look similar to figure 7:

Assuming no errors the user can click the Generate button to create the Visual Studio Solution files (DREAM3DProj.sln) which the user can open to compile DREAM.3D.
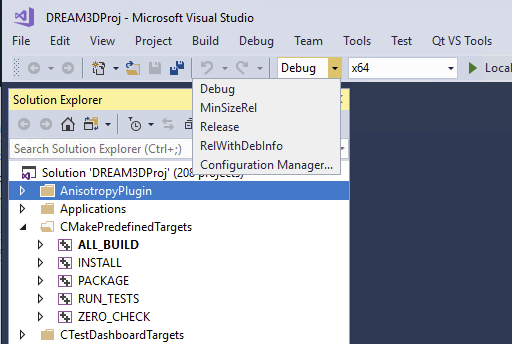
After opening the DREAM.3D Visual Studio solution file, use the drop down menu to select a Release build (see figure 8)
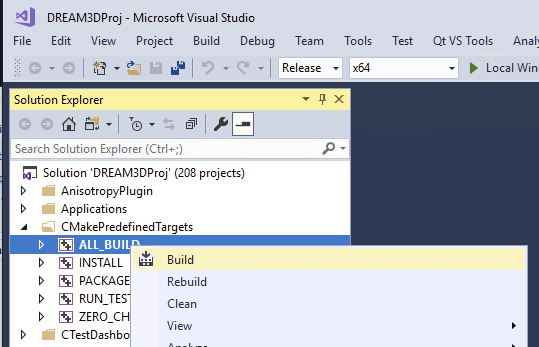
and then proceed to build the entire solution (see figure 9)
Packaging
If you want to create a redistributable package for your organization then simply select the PACKAGE target to compile (figure 10)
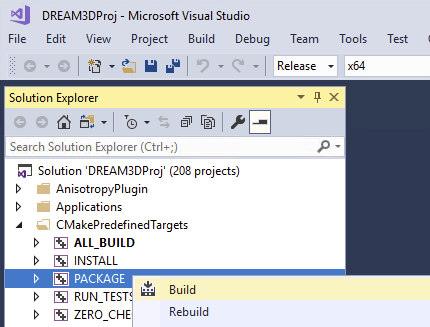
At the completion of the PACKAGE phase a ZIPPED archive called DREAM3D-XXXXX.zip will be saved into the Binary directory.