Creating A Filter
Prerequisites
These prerequisites will get your system set up with a DREAM.3D SDK and compiling DREAM.3D.
If you have already fulfilled all of these prerequisites, skip to the Using DevHelper to Create a Filter section.
Install a Compiler Suite
A compatible compiler needs to be installed on your system to be able to build DREAM.3D.
For more information, please visit Installing a Compiler Suite.
Download the Source Code for DREAM.3D
The source code for DREAM.3D must be downloaded using Git.
For more information, please visit Downloading the Source Code for DREAM.3D.
Install the DREAM.3D SDK
Developers of DREAM.3D must use the Superbuild build system to install a DREAM.3D SDK.
For more information, please visit:
Windows - Configuring and Building DREAM.3D
Mac OS X - Configuring and Building DREAM.3D
Linux - Configuring and Building DREAM.3D
Configure and Build DREAM.3D
DREAM.3D needs to be configured with CMake and compiled on your system so that the DevHelper tool can be used to create a filter.
For more information, please visit:
Windows - Configuring and Building DREAM.3D
Mac OS X - Configuring and Building DREAM.3D
Linux - Configuring and Building DREAM.3D
Using DevHelper to Create a Filter
DREAM.3D includes a tool called DevHelper that will automatically generate the required skeleton code for new plugins and filters that are compatible with DREAM.3D.
Note: It is STRONGLY RECOMMENDED that this tool be used by DREAM.3D developers to create new plugins and filters.
We will use the DevHelper tool to create a new filter.
Instructions
-
Create a new folder called DREAM3D_Plugins in the Workspace folder. On Windows, this is at C:\Users\[YOUR-USER-DIRECTORY]\Workspace\DREAM3D_Plugins. On OS X, this is at /Users/[YOUR-HOME-DIRECTORY]/Workspace/DREAM3D_Plugins.
-
Open CMake and set the Where is the source code path to your DREAM3D source folder. On Windows, this is at C:\Users\[YOUR-USER-DIRECTORY]\Workspace\DREAM3D. On OS X, this can be found at /Users/[YOUR-HOME-DIRECTORY]/Workspace/DREAM3D.
-
Set the Where to build the binaries path to DREAM3D's Release directory. On Windows, this is at C:\Users\[YOUR-USER-DIRECTORY]\Workspace\Builds\DREAM3D-Build\Release. On OS X, this can be found at /Users/[YOUR-HOME-DIRECTORY]/Workspace/Builds/DREAM3D-Build/Release.
-
The DevHelper tool is turned off by default when first compiling DREAM.3D, so new developers will need to turn it on. Turn SIMPLView_BUILD_DevHelper on in the CMake GUI.

-
Re-configure and re-generate the DREAM3D project files by pressing Configure and then Generate. Then open your preferred IDE and build DREAM.3D. For a refresher on how to do these things, refer to the Configure and Build DREAM.3D section above.
-
Launch the DevHelper executable inside the Bin folder of your DREAM.3D Release build directory. For Windows, this is located at C:\Users\[YOUR-USER-DIRECTORY]\Workspace\Builds\DREAM3D-Build\Release\Bin\DevHelper.exe. For OS X, this is at /Users/[YOUR-HOME-DIRECTORY]/Workspace/Builds/DREAM3D-Build/Release/Bin/DevHelper.app
-
If you already have an existing plugin that you wish to store the new filter in, skip to Step 11.
-
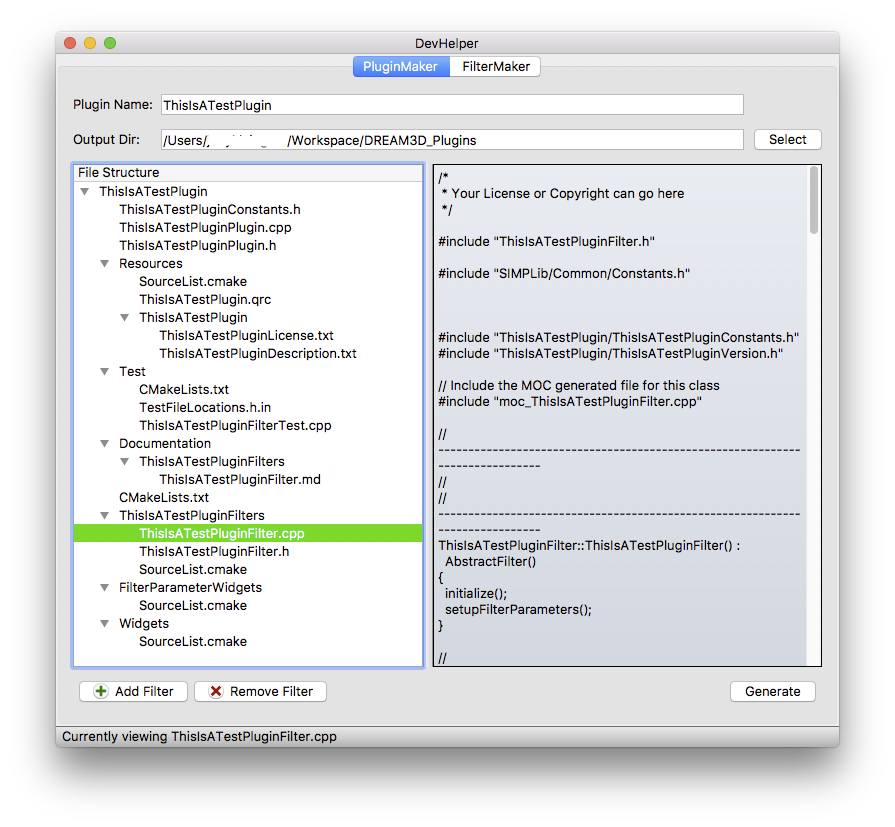
To create a new plugin, we are going to use the PluginMaker tab in the DevHelper interface. Set the Plugin Name field to the name of the new plugin. Set the Output Dir field to the DREAM3D_Plugins directory that was created in Step 1.
-
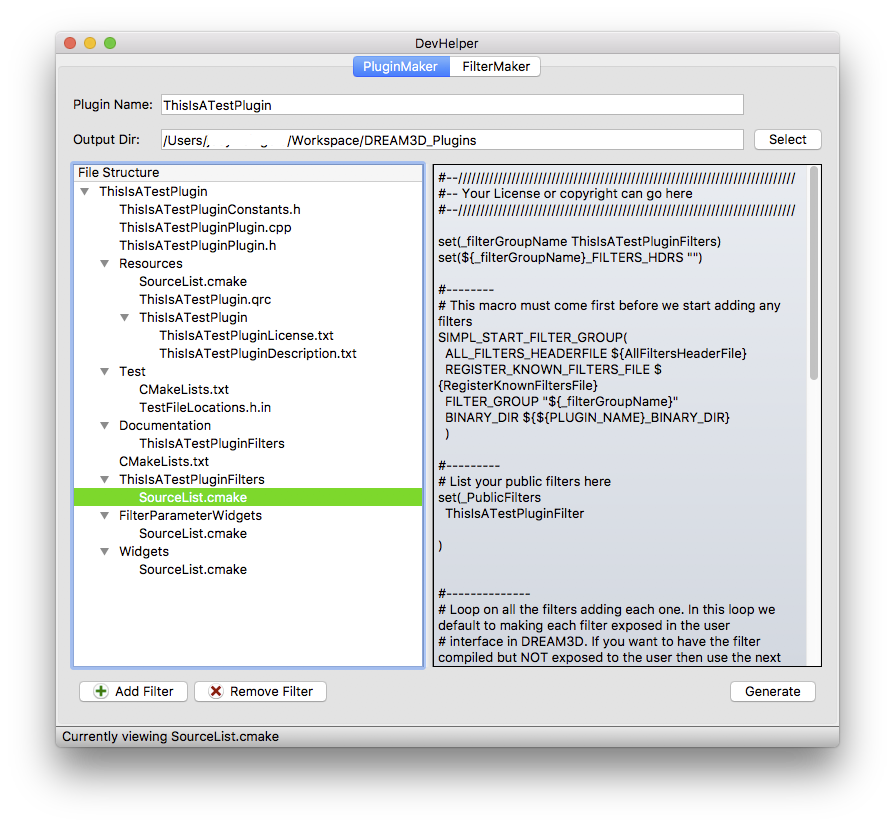
The PluginMaker tab creates an empty filter with the plugin by default. This is useful for people who just want to make a generic filter that goes with the plugin. However, this is not what we want to do for this tutorial. Select the [PLUGIN-NAME]Filter.cpp file in the tree view and press the Remove Filter button. This will remove the default filter from the plugin.
-
Press the Generate button to generate the plugin into the DREAM3D_Plugins directory.
-
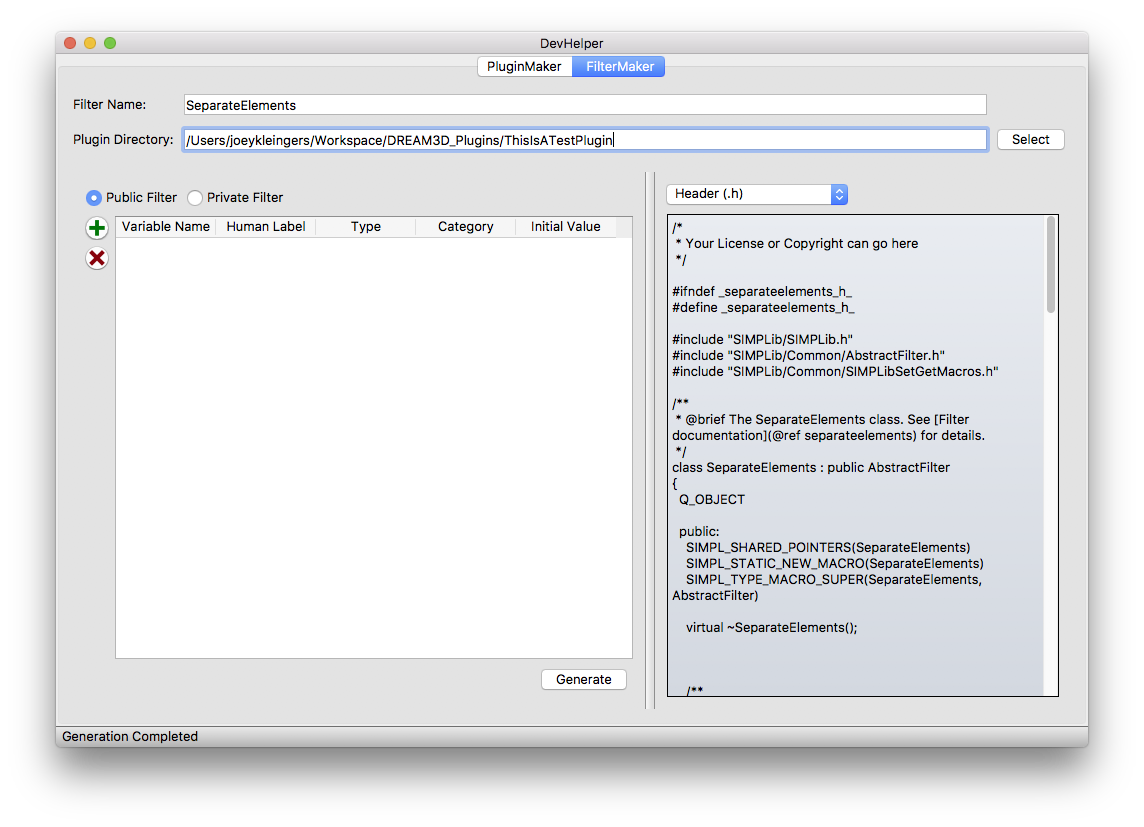
Click on the FilterMaker tab. This is the section of the interface that allows us to generate a filter.
-
Set the Filter Name field to the name of the new filter. Set the Plugin Directory field to the top-level directory of the plugin that you wish to store the new filter in.
Note: For more information on how to use DevHelper to generate filter parameters, please visit .
-
Press the Generate button to generate the filter inside the specified plugin.
Next Page: Writing a Filter
Previous Page (Windows): Configuring and Building DREAM.3D
Previous Page (OS X): Configuring and Building DREAM.3D
Previous Page (Linux): Configuring and Building DREAM.3D